
Anyway, Israeli cheesecake is much lighter and tarter than what we consider cheesecake. It also uses tea biscuits instead of graham crackers as a base (and a topping). You can use nilla wafers if you can't find tea biscuits. The recipe I used called for heavy whipping cream (unwrapped) and I would omit it next time. I think it made it thicker and the whole point of this cheesecake is to be super light and airy.
Here's the trick. Israeli cream cheese isn't what we consider cream cheese. The consistency is more like that of yogurt - maybe a mix of yogurt and greek yogurt in terms of thickness. If you have a kosher section in your supermarket, you can find it. I used the 5% kind (yes, 5% fat, as opposed to the normal 3% fat, don't judge).
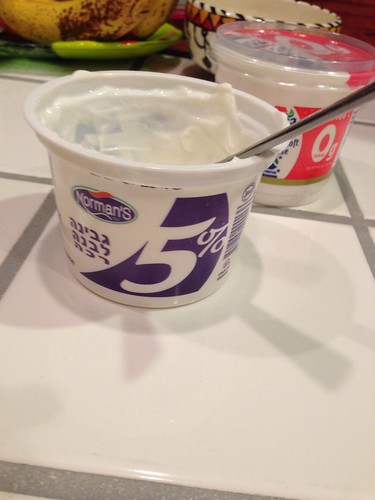
Right, so I realize most of you don't read Hebrew. So, if you don't feel like braving this and buying this type of cream cheese, I would recommend buying a combination of plain yogurt, greek yogurt, and sour cream. Yes, sour cream. You could probably use all sour cream if you wanted!
Okay ingredients list:
Crust
Half a sleeve of tea biscuits, crushed up (or vanilla wafers)
1/2 stick (1/4 cup) of butter
2 tbs brown sugar
Filling
2.5 cups of "Israeli cream cheese", or if you can't find it, full fat plain greek yogurt or sour cream
1 cup of full fat sour cream
1.25 cups of sugar
2 eggs plus 1 egg white
juice of one lemon
vanilla (I don't measure, so as much as you want - 1 tsp to 1 tbs I guess?)
2 tbs flour
*note - the recipe I used called for 1/2 cup of whipping cream. I would omit this if you want the light fluffy texture*
Topping
1 cup of sour cream
Vanilla (ugh measuring again - maybe a teaspoon?)
1 tbs sugar
1/2 sleeve crushed tea biscuits or vanilla wafers
Instructions:
(preheat oven to 350 before beginning)
1. Crush up your tea biscuits or nilla wafers in a zip lock bag. This is the brand I use:

And I crush them like so:
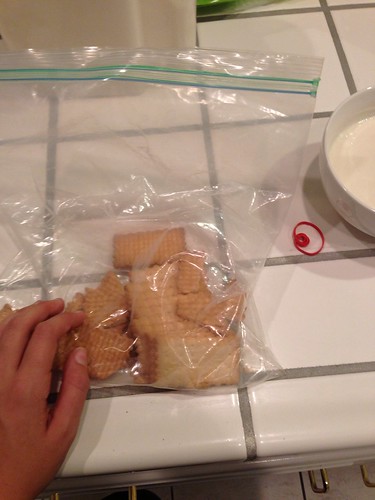

Yes, I use my fist.
But I can also use a big serving spoon or ladle:

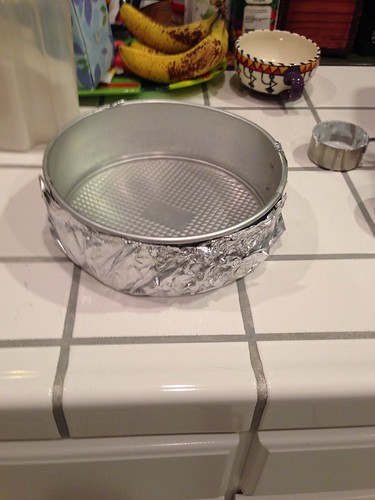
Wrap a spring form pan with tinfoil to avoid leaks, and spray with non stick spray.
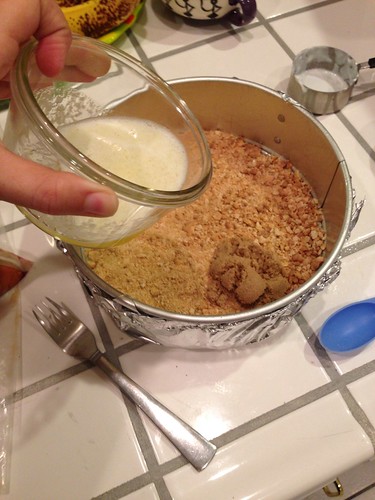
I like to pour my biscuits right into the pan, and then pour the sugar and batter on top and mold it with my finger tips or a fork. Like so:
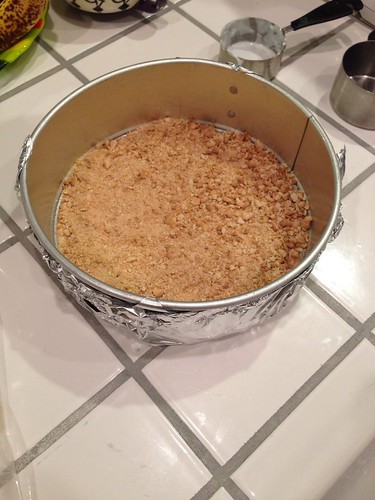
(note, they aren't crushed perfectly or uniformly - nobody can tell!)
Note in the next picture that the brown sugar has been dumped in:

Okay, on to step 2.
2. In a big bowl of a stand mixer (or any big bowl if you're using a hand mixer), pour in your "cream cheese" or yogurt or sour cream, and add the sugar. Mix until combined. Add the eggs one at a time while mixing. Add the vanilla and lemon juice. Add the flour. Did I forget anything? I don't think so. If I did, add that too.
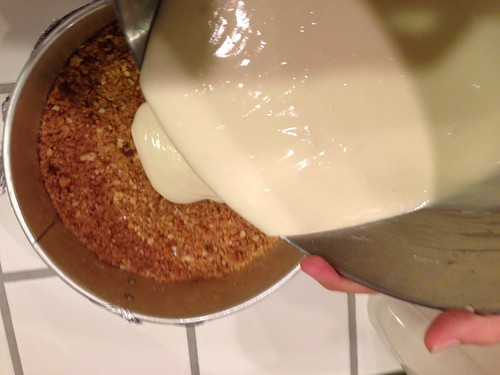
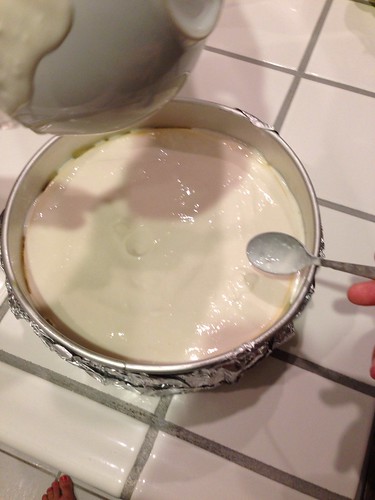
3. Pour the filling mixture over the tea biscuits:
4. Bake for 55-60 minutes. While it's baking, prepare your topping. This is what my dog decided to do while this was baking:
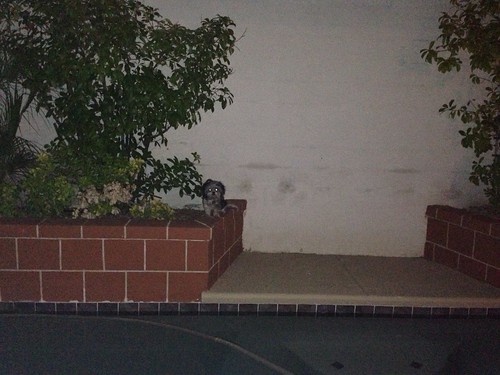
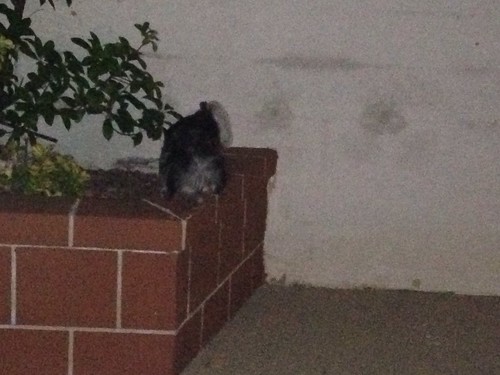
(yes, he's on the other side of the pool. Ugh).
5. Prep your topping. Combine the sour cream, vanilla, and sugar, and crush up your next round of biscuits. don't combine!
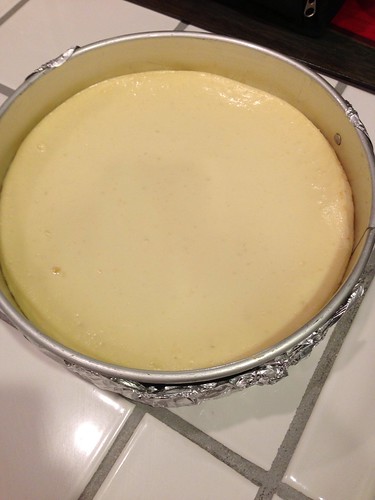
6. After 55 minutes, check the cheesecake. It should be slightly loose in the middle, but set around the sides. This is what mine looked like:
Add the sour cream topping and carefully spread all the way around, and then spread the biscuit topping on top of that.
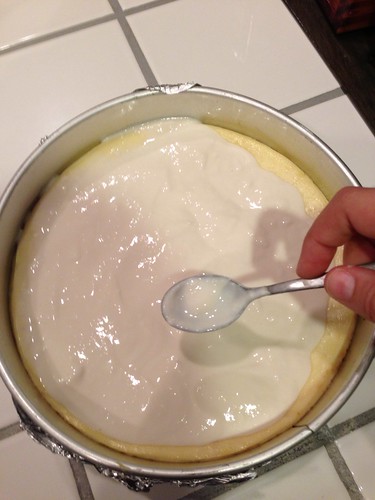
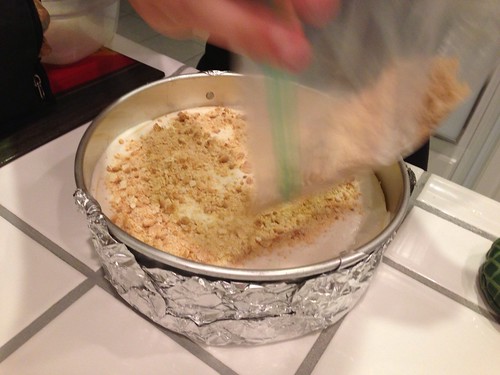
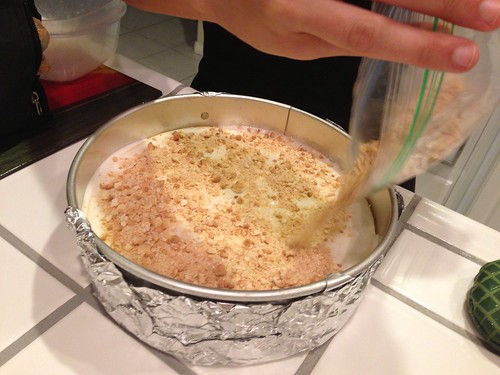
Use your finger tips to spread the biscuit crumbs over the sour cream topping - be careful! You can press them in a little, but you don't want them to "mix in".

7. Bake the cake for another 10 minutes. Let it cool completely before refrigerating overnight.
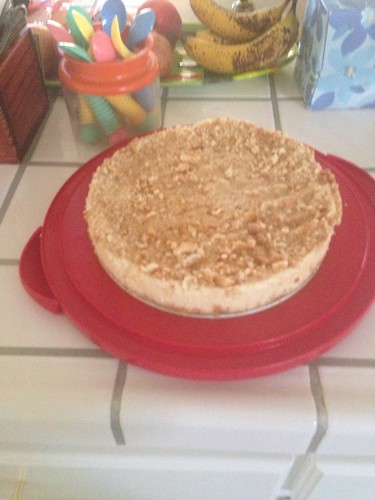
Here is the end result:
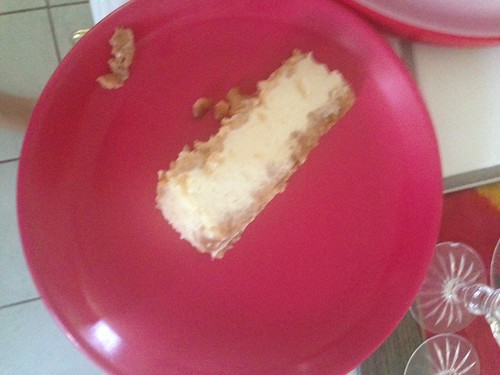
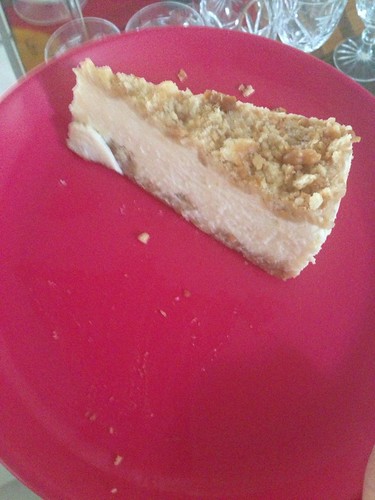
Enjoy!
That looks completely gorgeous!
ReplyDelete